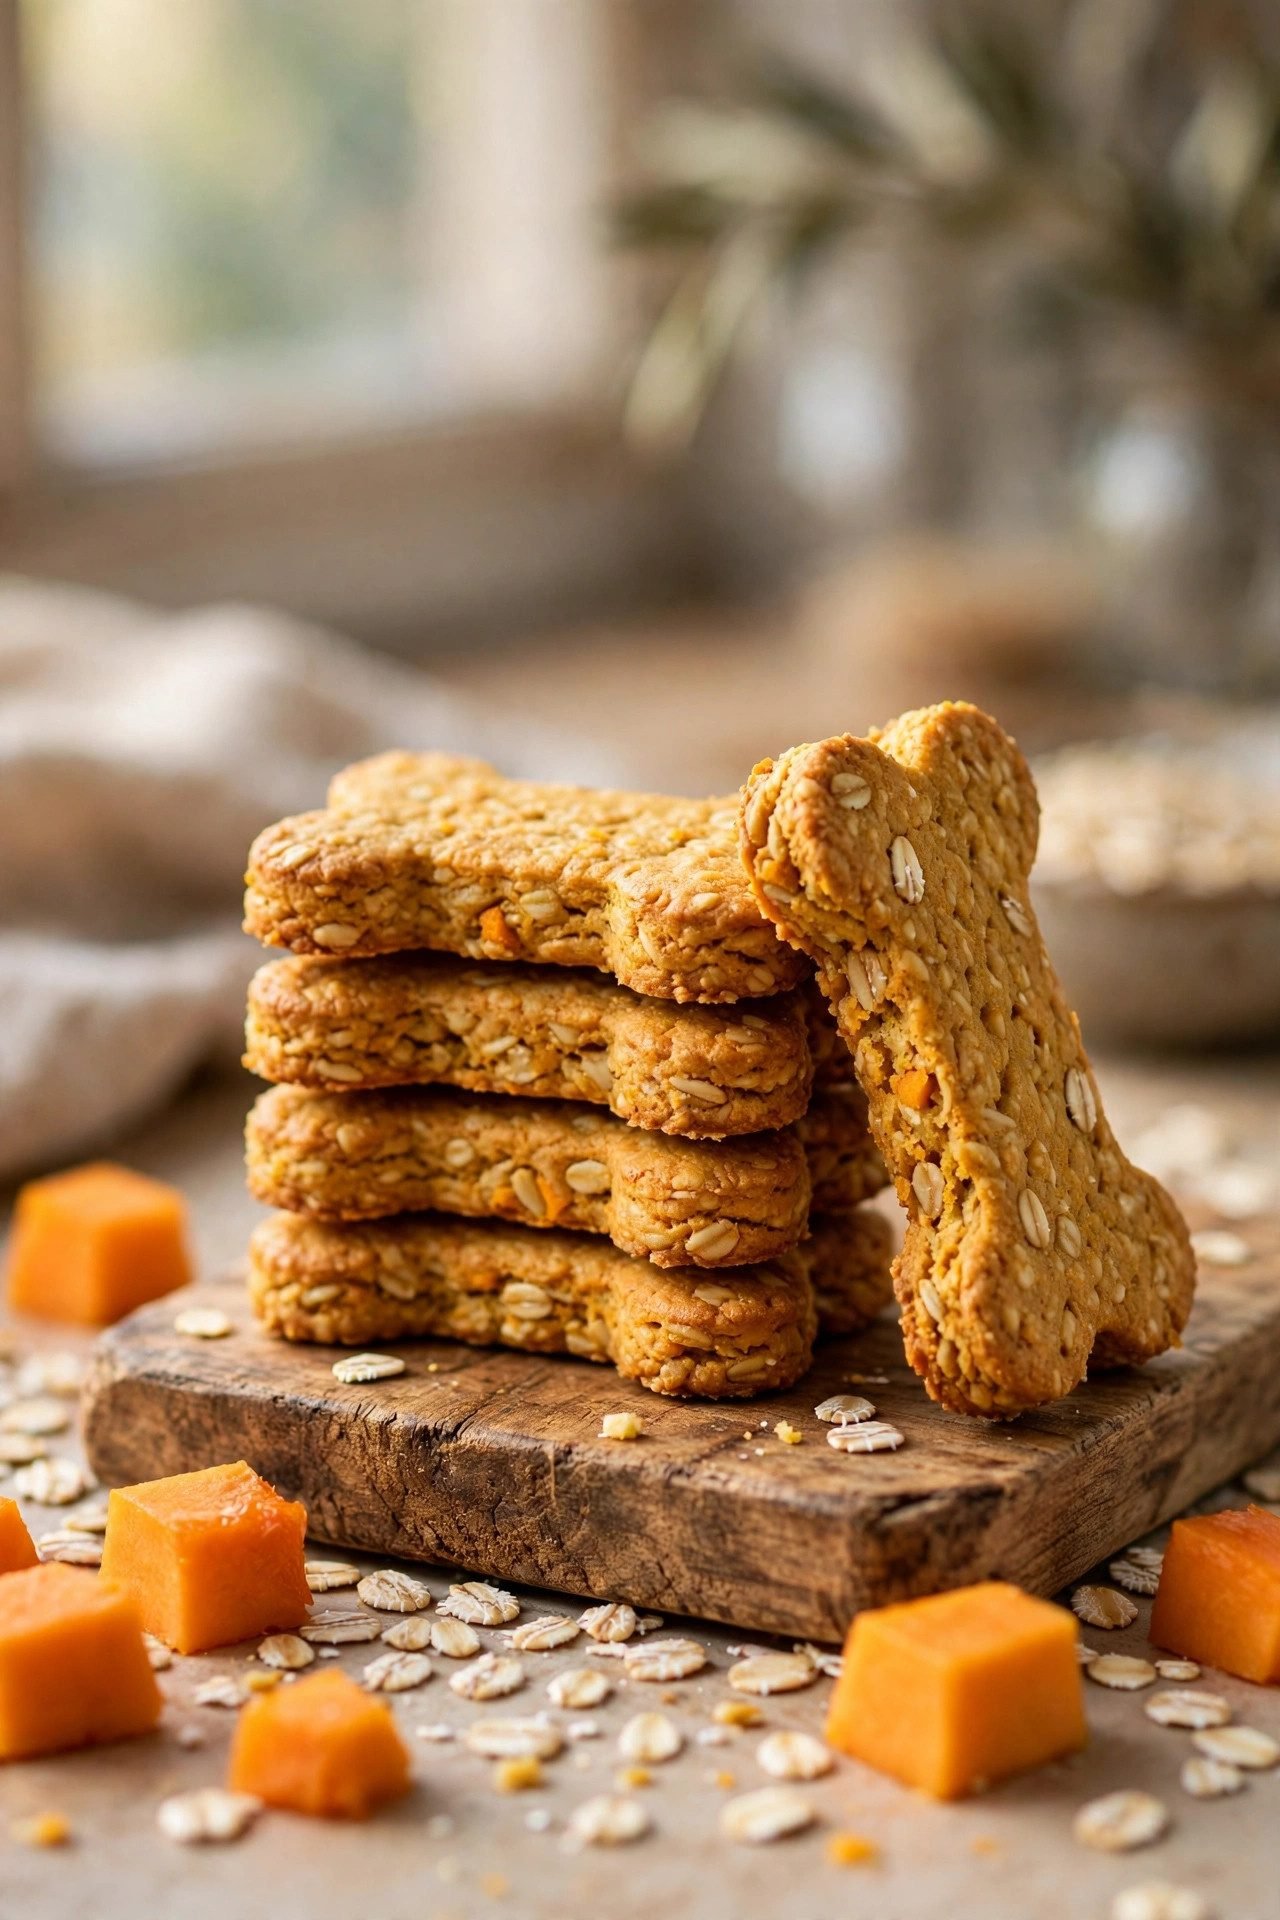
Pumpkin Oat Dog Biscuits for Sensitive Stomachs: The 3-Ingredient Treat Delicate Tummies Can Handle
There is a special kind of worry that comes with a dog who has a delicate stomach. Every new treat is a gamble: will this be the one that sets off the gurgling, the grass-eating, the middle-of-the-night “I need to go out” whine? Our first Shih Tzu had a stomach like a weather vane — change the treat brand and we’d know about it within hours. That’s exactly why these pumpkin dog treats exist: three ingredients, nothing fancy, and both of them are the gentlest players in the pantry.
Pumpkin is the one food ingredient vets mention by name for digestive wobbles — its soluble fiber helps firm up loose stools and keeps things moving the right way. Oats are one of the kindest grains for dogs, and ground into flour they’re completely wheat-free, which matters for dogs whose tummies protest at wheat. Mixed into a simple crunchy biscuit, you get a homemade dog biscuit that even a sensitive stomach usually accepts without drama — plus a treat you can actually feel good about handing over.
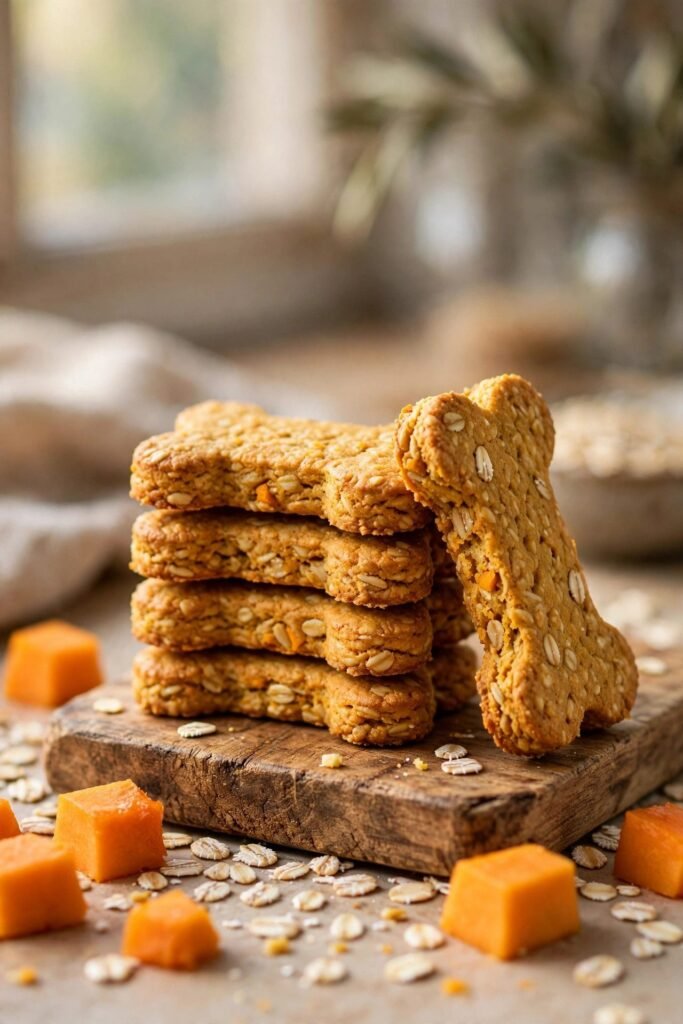
Why Pumpkin + Oats Is the Sensitive-Stomach Dream Team
These two ingredients are the classic bland-diet all-stars, and they each earn their place.
The pumpkin is doing the heavy lifting. Plain canned pumpkin (100% pumpkin — never pie filling) is rich in soluble fiber, the kind that absorbs excess water in the digestive tract and helps form firmer stools. It’s the same reason pumpkin is the go-to home remedy vets suggest for mild digestive upset in dogs: gentle, natural, and most dogs genuinely like the taste. A little goes a long way, and it’s doing quiet work in every biscuit.
The oats are the gentle carrier. Rolled oats blitzed into flour make a dough that’s naturally wheat-free — no gluten-heavy wheat flour, which is exactly what you want when a stomach is touchy. Oat flour bakes up into a sturdy, crunchy biscuit with a mild, slightly sweet flavor dogs love, and it keeps the whole recipe simple enough for the most restricted diets.
The egg is the glue. One egg binds the dough and adds a little protein — nothing more complicated than that. Three ingredients, one bowl, no mysteries. For a sensitive stomach, boring is beautiful.
A Quick Sensitive-Stomach Honesty Check
This recipe is designed to be gentle — but “sensitive stomach” is a symptom, not a diagnosis, and treats should never paper over something bigger. Before you bake:
- New treats get the 3-day rule. Give one biscuit and wait 2–3 days before judging. A truly sensitive dog can react slowly, and testing one new thing at a time tells you exactly what agrees with them.
- Chronic symptoms need a vet, not a recipe. If your dog has ongoing vomiting, diarrhea, blood in the stool, weight loss, or tummy trouble that keeps coming back, that’s a vet conversation — food intolerances, pancreatitis, and other conditions need a diagnosis, not a biscuit.
- Small amounts first. Even gentle ingredients in big quantities can upset a delicate stomach. Start with half a biscuit for small dogs (more in the portions table below) and build up.
- The 10% rule. Treats — even homemade, even gentle — should stay under 10% of your dog’s daily food. These are a supplement to a balanced diet, not a replacement for it.
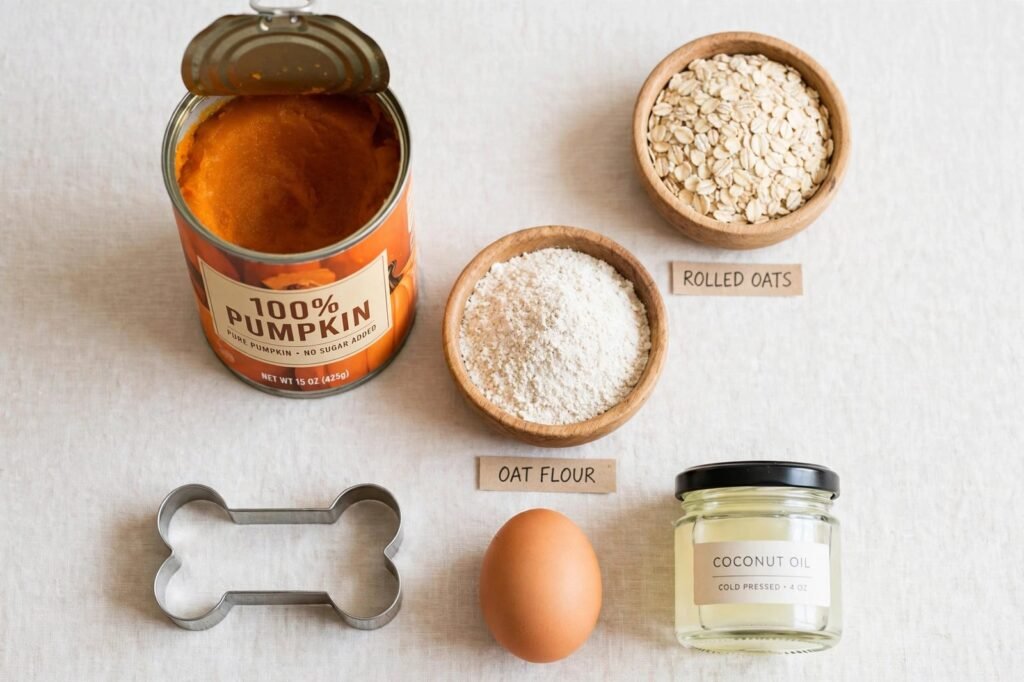
What You Need
Ingredients
| Ingredient | Amount | Notes |
|---|---|---|
| Plain canned pumpkin | 1 cup (240 g) | 100% pumpkin — NOT pumpkin pie filling. Pie filling has sugar, spices, and sometimes xylitol. Read the label. |
| Oat flour | 2 cups (180 g) | Blitz ~2¼ cups rolled oats in a blender until fine. Naturally wheat-free. |
| Egg | 1 large | The binder. Room temperature mixes more evenly. |
| Coconut oil (optional) | 1 tbsp, melted | Adds richness and helps the dough come together; skip for the most restricted tummies |
That’s the whole list. No salt, no sugar, no spices — and specifically no nutmeg (toxic to dogs), no onion, no garlic, no chocolate, no raisins.
Equipment
- Blender or food processor (to make oat flour — or buy it ready-made)
- Mixing bowl and spoon
- Rolling pin
- Bone-shaped cookie cutter (or a glass rim for rounds)
- Baking sheet + parchment paper
How to Make These Pumpkin Dog Treats, Step by Step
Step 1: Make the Oat Flour
Pour about 2¼ cups of rolled oats into your blender and blitz until you have a fine, even flour — 30 to 60 seconds, shaking the jar once or twice. A few slightly coarse bits are fine; you’re not making pastry flour. Measure out 2 cups for the recipe and save any extra for dusting the board.
Step 2: Mix the Dough
In a large bowl, stir the pumpkin, egg, and melted coconut oil (if using) until smooth. Add the oat flour one cup at a time, stirring until a soft, slightly sticky dough forms. It should hold together when pinched — if it’s too wet, add flour a tablespoon at a time; too dry, a teaspoon of water.
Step 3: Rest the Dough (10 Minutes)
This is the small step most recipes skip, and it matters with oat flour. Cover the bowl and let the dough rest for 10 minutes — the oat flour hydrates, the dough firms up, and it becomes much easier to roll without cracking. Use the time to heat the oven to 350°F (175°C) and line a baking sheet with parchment.
Step 4: Roll and Cut
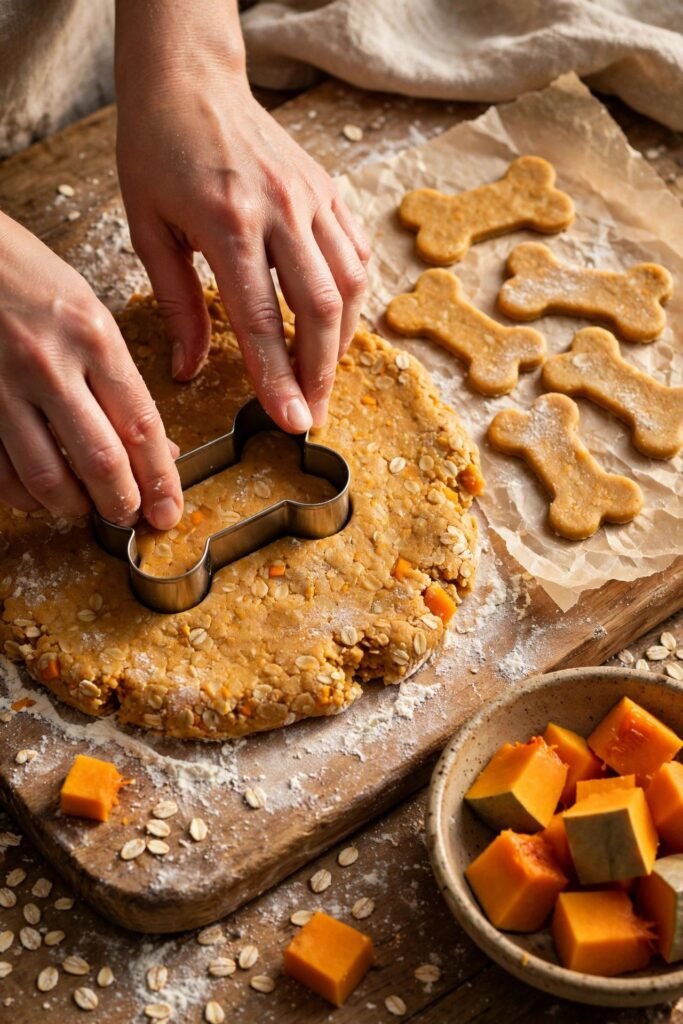
Lightly flour your board with a little oat flour and roll the dough to about ¼ inch (6 mm) thick — this is the crunch sweet spot. Thinner burns at the edges; thicker stays soft in the middle and won’t keep as well. Press out your biscuits with the cookie cutter and transfer them to the lined baking sheet, close together (they barely spread).
Step 5: Bake Until Golden and Firm
Bake for 20–25 minutes, until the biscuits are golden at the edges and feel firm and dry when you tap one. For an extra-crunchy, longer-keeping biscuit, turn the oven off after baking and leave the tray inside with the door cracked for another 30 minutes — the slow dry-out makes them properly snappy.
Step 6: Cool Completely
This step is non-negotiable: let the biscuits cool completely on a wire rack before storing — at least an hour. Warm biscuits trapped in a container sweat, and moisture is what turns homemade treats soft and, eventually, moldy. Patience here is food safety.
How to Store Homemade Dog Biscuits
- Room temperature: Airtight container or zip bag, up to 1 week — only if they’re fully crunchy and fully cooled. Add a small piece of paper towel to absorb any stray moisture.
- Fridge: Airtight container, up to 2 weeks. The texture softens slightly, which some dogs actually prefer.
- Freezer: Up to 3 months in a freezer bag with the air pressed out. Thaw at room temperature; the crunch comes right back.
- The mold rule: No preservatives means no forgiveness. If a biscuit smells off, feels soft when it should be crunchy, or shows any spots — throw it out. When in doubt, bake a fresh small batch; the ingredients cost almost nothing.
How Many Biscuits Per Day? (Portions by Weight)
Treats should stay under 10% of daily calories, and for sensitive stomachs, less is more at the start. This table is a rough daily maximum for a dog already settled on the recipe — start at half of this for the first week.
| Dog’s weight | Rough daily max (small bone biscuits) |
|---|---|
| 5 lb | 1 biscuit |
| 10 lb (a typical Shih Tzu) | 1–2 biscuits |
| 15 lb | 2 biscuits |
| 20 lb | 2–3 biscuits |
Broke one in half for a tiny mouth? That still counts as one. And on days your dog gets other treats, cut these back — the 10% budget is shared.
Variations (All Still Tummy-Friendly)
- Peanut butter version: Swap the coconut oil for 2 tablespoons of xylitol-free peanut butter. Check the label twice — xylitol (also listed as birch sugar) is extremely toxic to dogs, and it hides in “sugar-free” and “natural” peanut butters.
- Apple-pumpkin version: Replace ¼ cup of the pumpkin with ¼ cup unsweetened applesauce. Adds a little natural sweetness picky dogs notice.
- Sweet potato swap: Replace the pumpkin 1:1 with plain mashed cooked sweet potato (no butter, no marshmallows, no seasoning). Same fiber-friendly idea, different flavor for rotation.
- Softer training bites: Roll the dough slightly thicker (⅓ inch) and bake for just 15–18 minutes. Softer centers make better training rewards — but they must be stored in the fridge and used within a week.
- Cinnamon dust (tiny pinch only): A whisper of Ceylon cinnamon in the dough is fine for most dogs — but never nutmeg, which is toxic. If you’re unsure, skip spices entirely; the recipe doesn’t need them.
Common Mistakes to Avoid
- Grabbing pumpkin pie filling by mistake. This is the #1 error with pumpkin recipes, and it’s a dangerous one — pie filling contains sugar, spices, and sometimes xylitol. The can must say 100% pumpkin and the ingredients list should contain exactly one item: pumpkin.
- Rolling too thick. Thick biscuits look generous but stay soft and doughy in the middle, which means they spoil faster and some dogs find them harder to digest. Quarter-inch is the rule.
- Storing before they’re cool. Warm biscuits in a sealed container = condensation = mold risk. Cool completely, every time.
- Overfeeding because “they’re healthy.” Gentle ingredients don’t cancel out quantity. More than 10% of daily food as treats — even homemade ones — can unbalance a diet and upset exactly the stomach you’re trying to protect.
- Introducing too much, too fast. The 3-day rule exists for a reason. One new biscuit, then wait and watch, before making these a daily thing.
Frequently Asked Questions
Is pumpkin actually good for dogs with sensitive stomachs?
Yes — plain pumpkin is one of the most vet-recommended home remedies for mild digestive upset in dogs. Its soluble fiber absorbs excess water in the gut, which helps firm up loose stools, and it supports healthy digestion in general. That’s the whole reason it’s the star of this recipe. What it isn’t: a treatment for anything chronic. Ongoing tummy trouble always deserves a vet visit.
Can I use regular wheat flour instead of oat flour?
You can, but for a sensitive stomach we’d keep the oats. Wheat flour is the more common irritant of the two, and oat flour is naturally wheat-free while baking up just as well. If your dog tolerates wheat fine, whole wheat flour works 1:1 — but the oats are part of what makes this recipe the gentle one.
Are these biscuits good for dogs with grain allergies?
Oats are a grain, so for a true grain allergy these aren’t the answer — but genuine grain allergies are far less common in dogs than people assume (most dog food allergies are to proteins like beef, dairy, or chicken). If your vet has diagnosed a grain issue, ask them before baking; otherwise, oat-based treats are one of the safest grain options out there.
How long do homemade dog biscuits last?
About a week at room temperature in an airtight container (if fully baked crunchy and fully cooled), two weeks in the fridge, or three months in the freezer. No preservatives means you judge by senses: off smell, softness, or any spots = throw it out. Small frequent batches beat one big batch that goes stale.
Can puppies have these pumpkin biscuits?
Generally yes, in tiny amounts — the ingredients are all puppy-safe. But puppies under 6 months have developing digestive systems, so start with a crumb-sized piece and watch for a day or two. And keep the 10% treat rule even stricter for puppies, since their nutritional needs per pound are higher. When in doubt, your vet’s word wins.
Final Thoughts
A sensitive stomach doesn’t mean a boring treat jar. It just means choosing ingredients with a track record — pumpkin for the fiber, oats for the gentleness, and nothing else to cause trouble. These biscuits have become our go-to for the dog who used to eye every new treat with suspicion (and then pay for it later): crunchy, simple, and gone from the jar suspiciously fast.
Bake a batch, start with one biscuit and the 3-day rule, and let your dog’s tummy cast the final vote. Ours voted yes.
Pumpkin Oat Dog Biscuits for Sensitive Stomachs
Ingredients
Method
- Blitz 2¼ cups rolled oats into a fine flour; measure out 2 cups.
- Stir pumpkin, egg, and coconut oil (if using) until smooth; mix in oat flour until a soft dough forms.
- Cover and rest the dough 10 minutes. Heat oven to 350°F (175°C); line a baking sheet with parchment.
- Roll dough ¼ inch (6 mm) thick on a lightly floured board; cut with a bone-shaped cutter.
- Bake 20–25 minutes until golden and firm. For extra crunch, leave in the turned-off oven with the door cracked 30 minutes more.
- Cool completely on a wire rack (at least 1 hour) before storing.