3-Ingredient Peanut Butter Banana Dog Treats Your Dog Will Beg For
If you have ever stood in the pet store aisle squinting at a treat label full of words you cannot pronounce, you are not alone. We started making our own 3 ingredient dog treats for one simple reason: our Shih Tzus are picky, store-bought biscuits were getting expensive, and we wanted to know exactly what goes into every bite. These peanut butter banana dog treats are the recipe we come back to again and again — a ripe banana, natural peanut butter, and oat flour. Three pantry staples, zero mystery ingredients, and a kitchen that smells like warm cookies while they bake.
The best part? If you can mash a banana with a fork, you can make these treats today.
Why These 3 Ingredient Dog Treats Work So Well
Some homemade treats crumble into dust, go soft overnight, or get a polite sniff and a walk-away from a fussy small dog. These hold up better, because each ingredient has a real job to do.
The banana is the base. As it ripens, it gets sweeter and softer, which means it binds the dough, adds natural sweetness without any added sugar, and brings potassium and fiber along for the ride. The browner the banana, the better it mashes.
The natural peanut butter is the flavor engine. Dogs can smell peanut butter from three rooms away, and it gives the treats their rich, bake-shop taste. It also adds healthy fats and a little protein, which helps the dough roll out smoothly.
The oat flour is the structure. It turns a sticky bowl of mash into a proper rollable dough, and oats are gentle on sensitive stomachs — something Shih Tzu owners especially appreciate. Buy it ready-made, or blitz plain rolled oats in a blender until they look like flour.
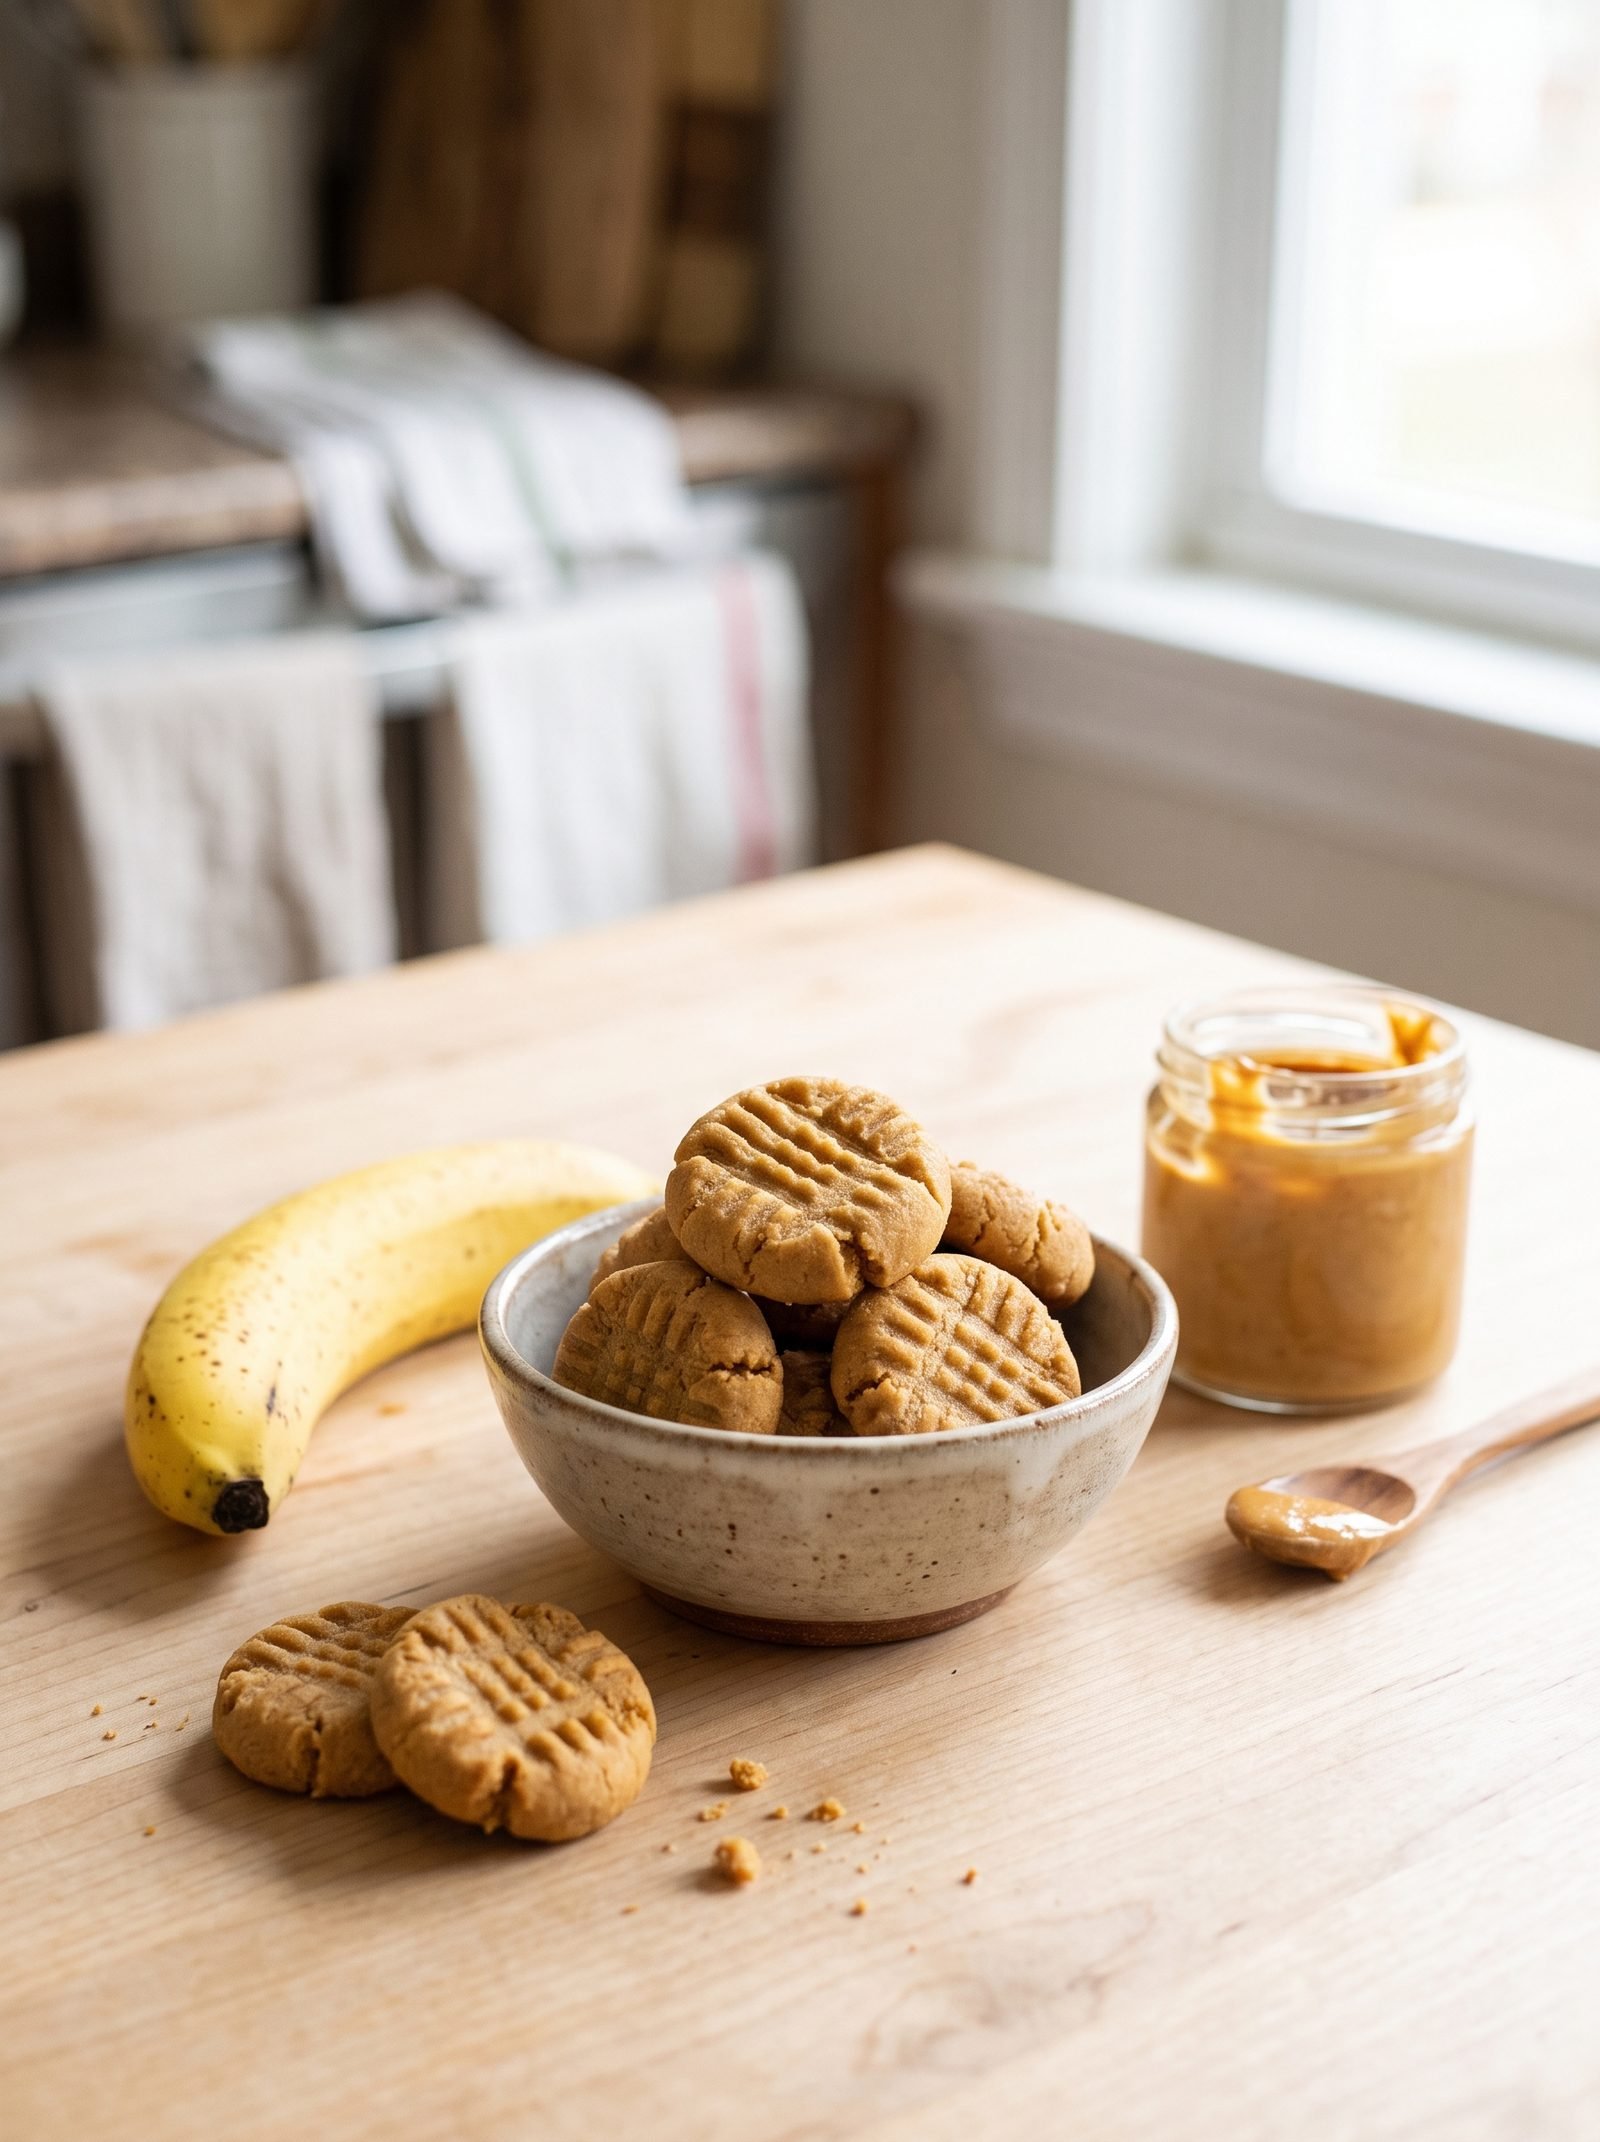
Together you get a treat that bakes up firm and lightly golden, snaps cleanly, and breaks easily into smaller pieces for tiny mouths and training rewards.
Read This First: The Peanut Butter Safety Check
Not all peanut butter is safe for dogs, and this is the one part of the recipe we never skip. Before you bake anything, check your peanut butter label for xylitol (also listed as birch sugar, E967, or “wood sugar”). Xylitol is extremely toxic to dogs — even a small amount can cause a dangerous drop in blood sugar and liver damage.
Look for a short ingredient list: peanuts, and maybe a little salt. That is it. Most natural peanut butters pass this check easily, but sugar-free and “low sugar” varieties are the risky ones, so read the label every single time, even if it is a brand you have bought before, because recipes change. The same rule applies to any substitute butter later in this post — check that label for xylitol too.
What You Need
Ingredients
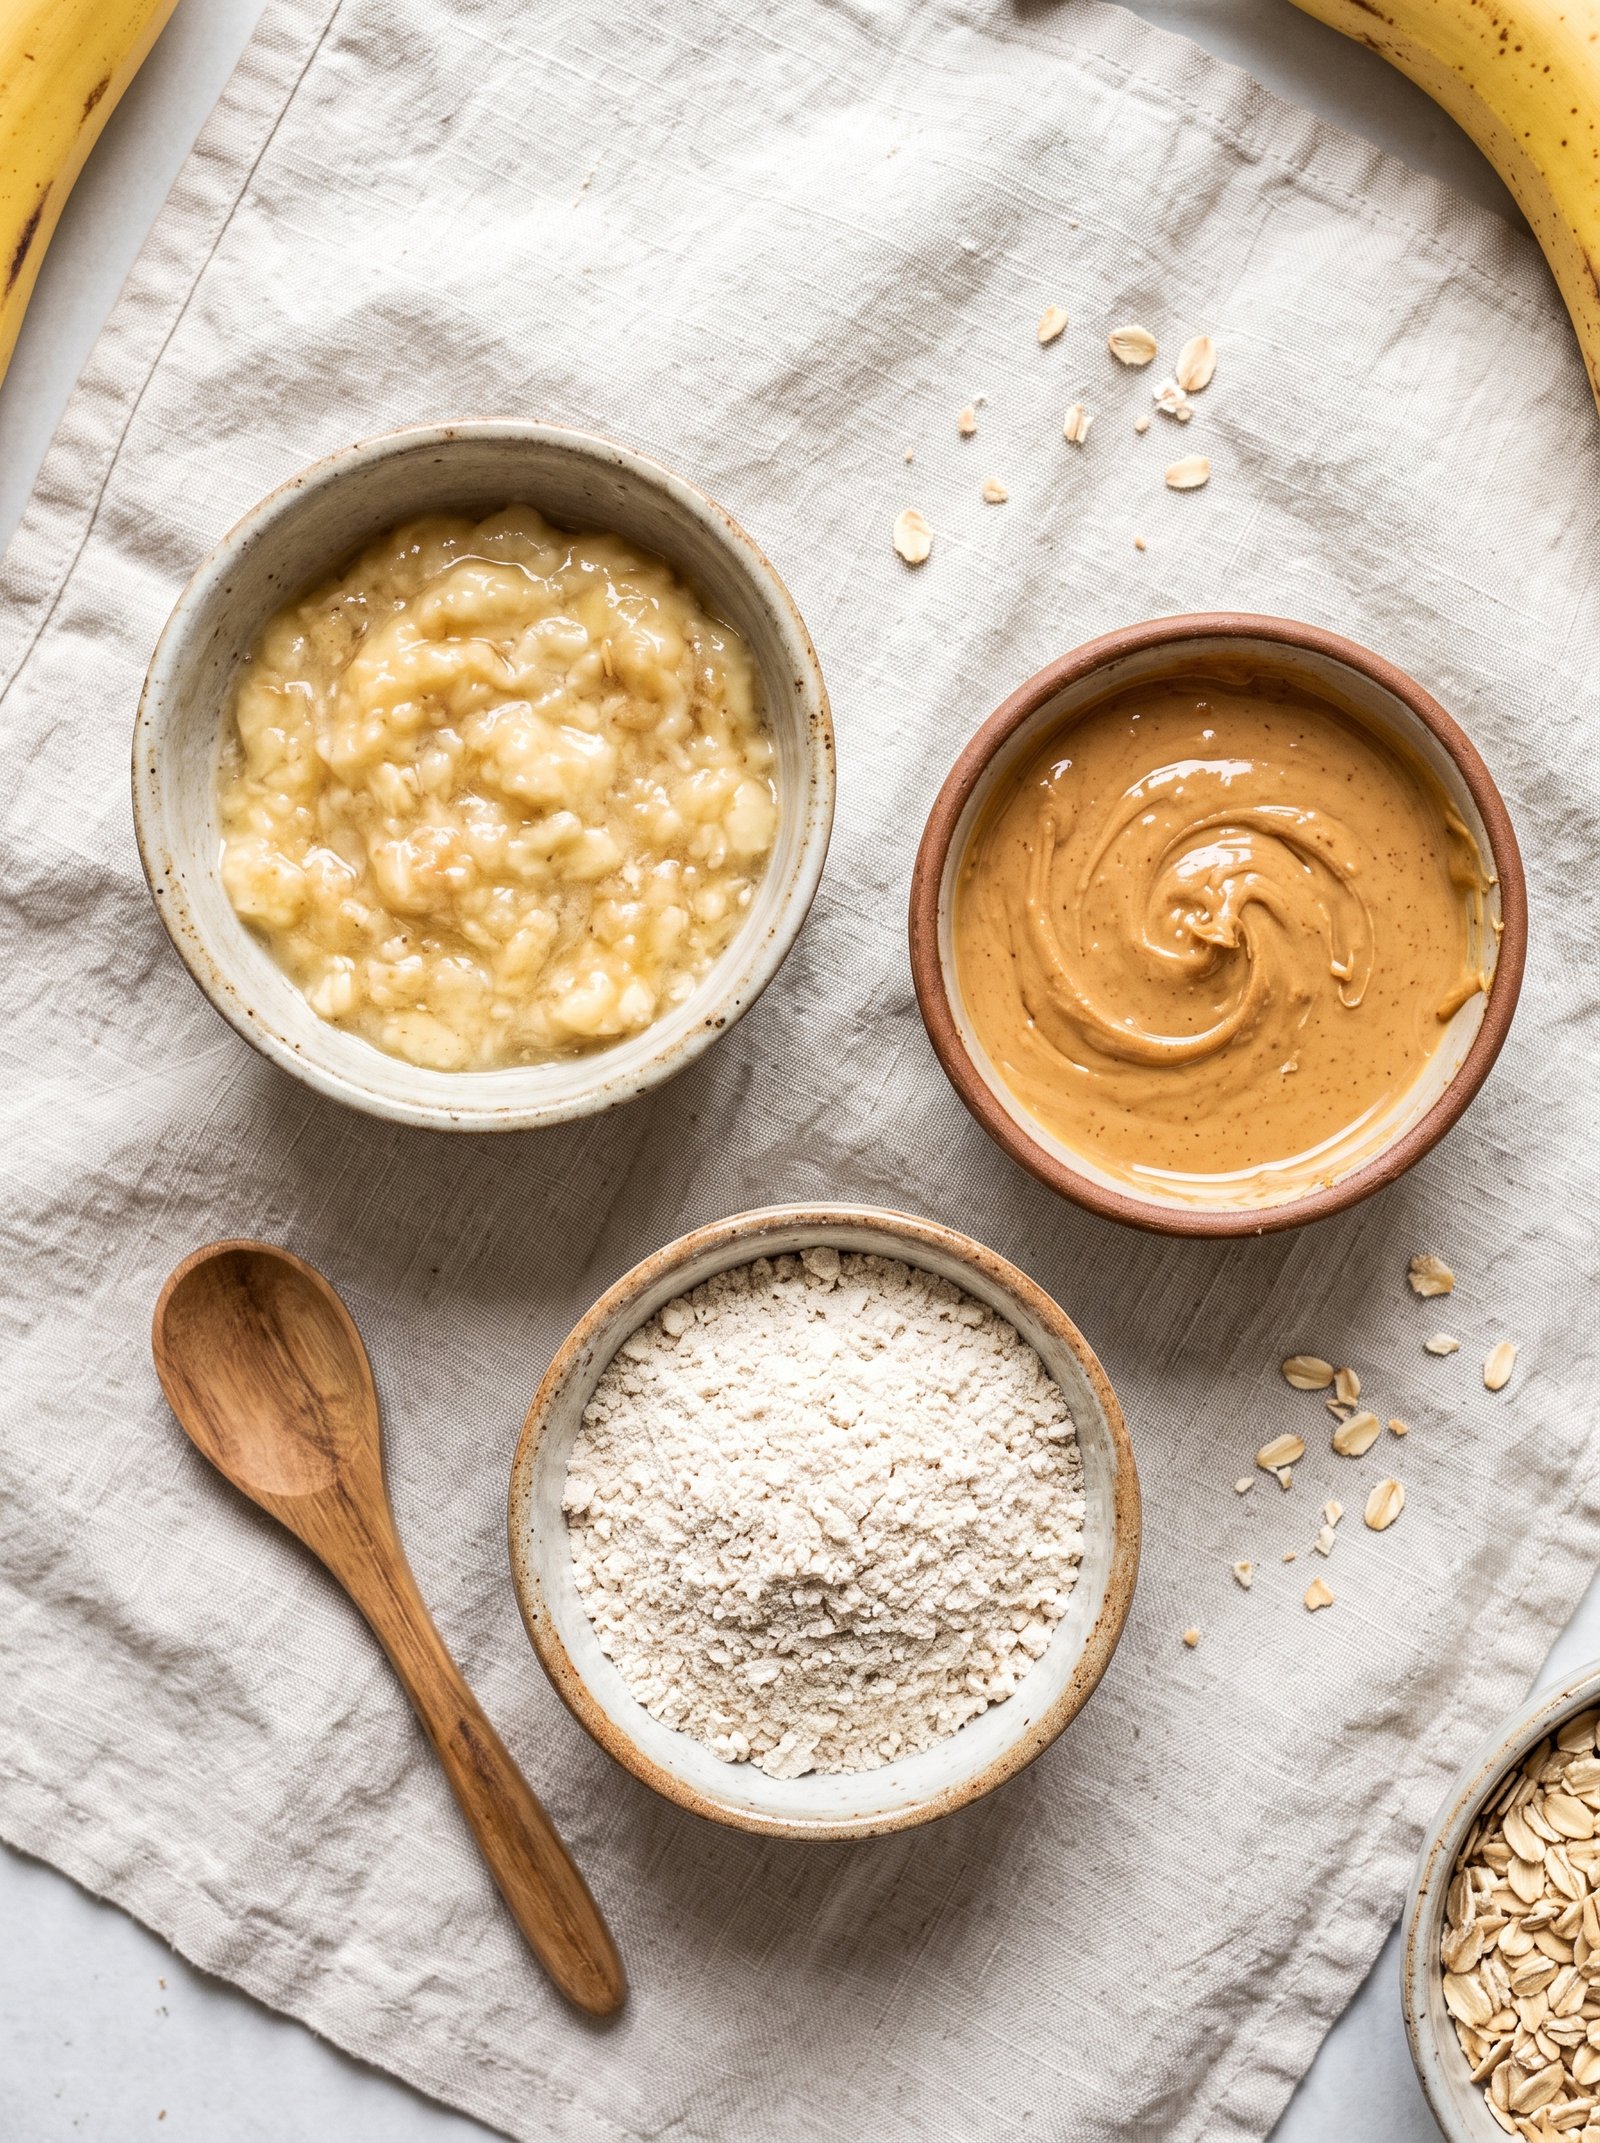
| Ingredient | Amount | Notes |
|---|---|---|
| Ripe banana | 1 medium | The riper, the sweeter and easier to mash |
| Natural peanut butter | ½ cup | Must be xylitol-free — check the label |
| Oat flour | 1½–2 cups | Add gradually; buy it or blend rolled oats |
That is the whole list — no eggs, no sugar, no salt, no baking powder. The dough comes together from the moisture of the banana and peanut butter alone.
Equipment
- Mixing bowl and a fork or potato masher
- Rolling pin
- Bone-shaped cookie cutter (or any small cutter)
- Baking sheet lined with parchment paper
- Wire cooling rack
- Extra oat flour for dusting your work surface
How to Make These 3 Ingredient Dog Treats, Step by Step
Step 1: Heat the Oven and Prep the Pan
Preheat your oven to 325°F (165°C). Line a baking sheet with parchment paper. The slightly lower temperature is deliberate: it dries the treats out gently so they bake up firm and keep longer, instead of browning outside while staying soft in the middle.
Step 2: Mash the Banana
Peel the banana, drop it into your mixing bowl, and mash it with a fork until it is almost smooth — a few small lumps are fine. If your banana is still firm and pale yellow, it will fight you; ripe and spotty is what you want.
Step 3: Stir in the Peanut Butter
Add the ½ cup of peanut butter to the mashed banana and stir until the mixture looks like a thick, glossy batter, with no ribbons of peanut butter hiding at the bottom of the bowl. This wet base is what will hold your flour, so it needs to be fully combined before you move on.
Step 4: Add the Oat Flour Gradually
Stir in the oat flour a half cup at a time. This step makes or breaks the dough, because banana sizes vary. You want a soft dough that pulls away from the sides of the bowl, feels like play dough, and is no longer sticky. Most batches land between 1½ and 2 cups. If it still sticks to your fingers, add flour a spoonful at a time; if it cracks and feels dry, knead in a teaspoon of water.
Step 5: Roll Out the Dough
Lightly dust your counter with oat flour, turn the dough out, and knead a few times until smooth. Roll to about ¼ inch thick — roughly the height of two stacked coins. Thinner treats bake crisper; thicker ones stay chewier in the center. For small dogs like Shih Tzus, we like them thinner and crisper, so they snap into pieces easily.
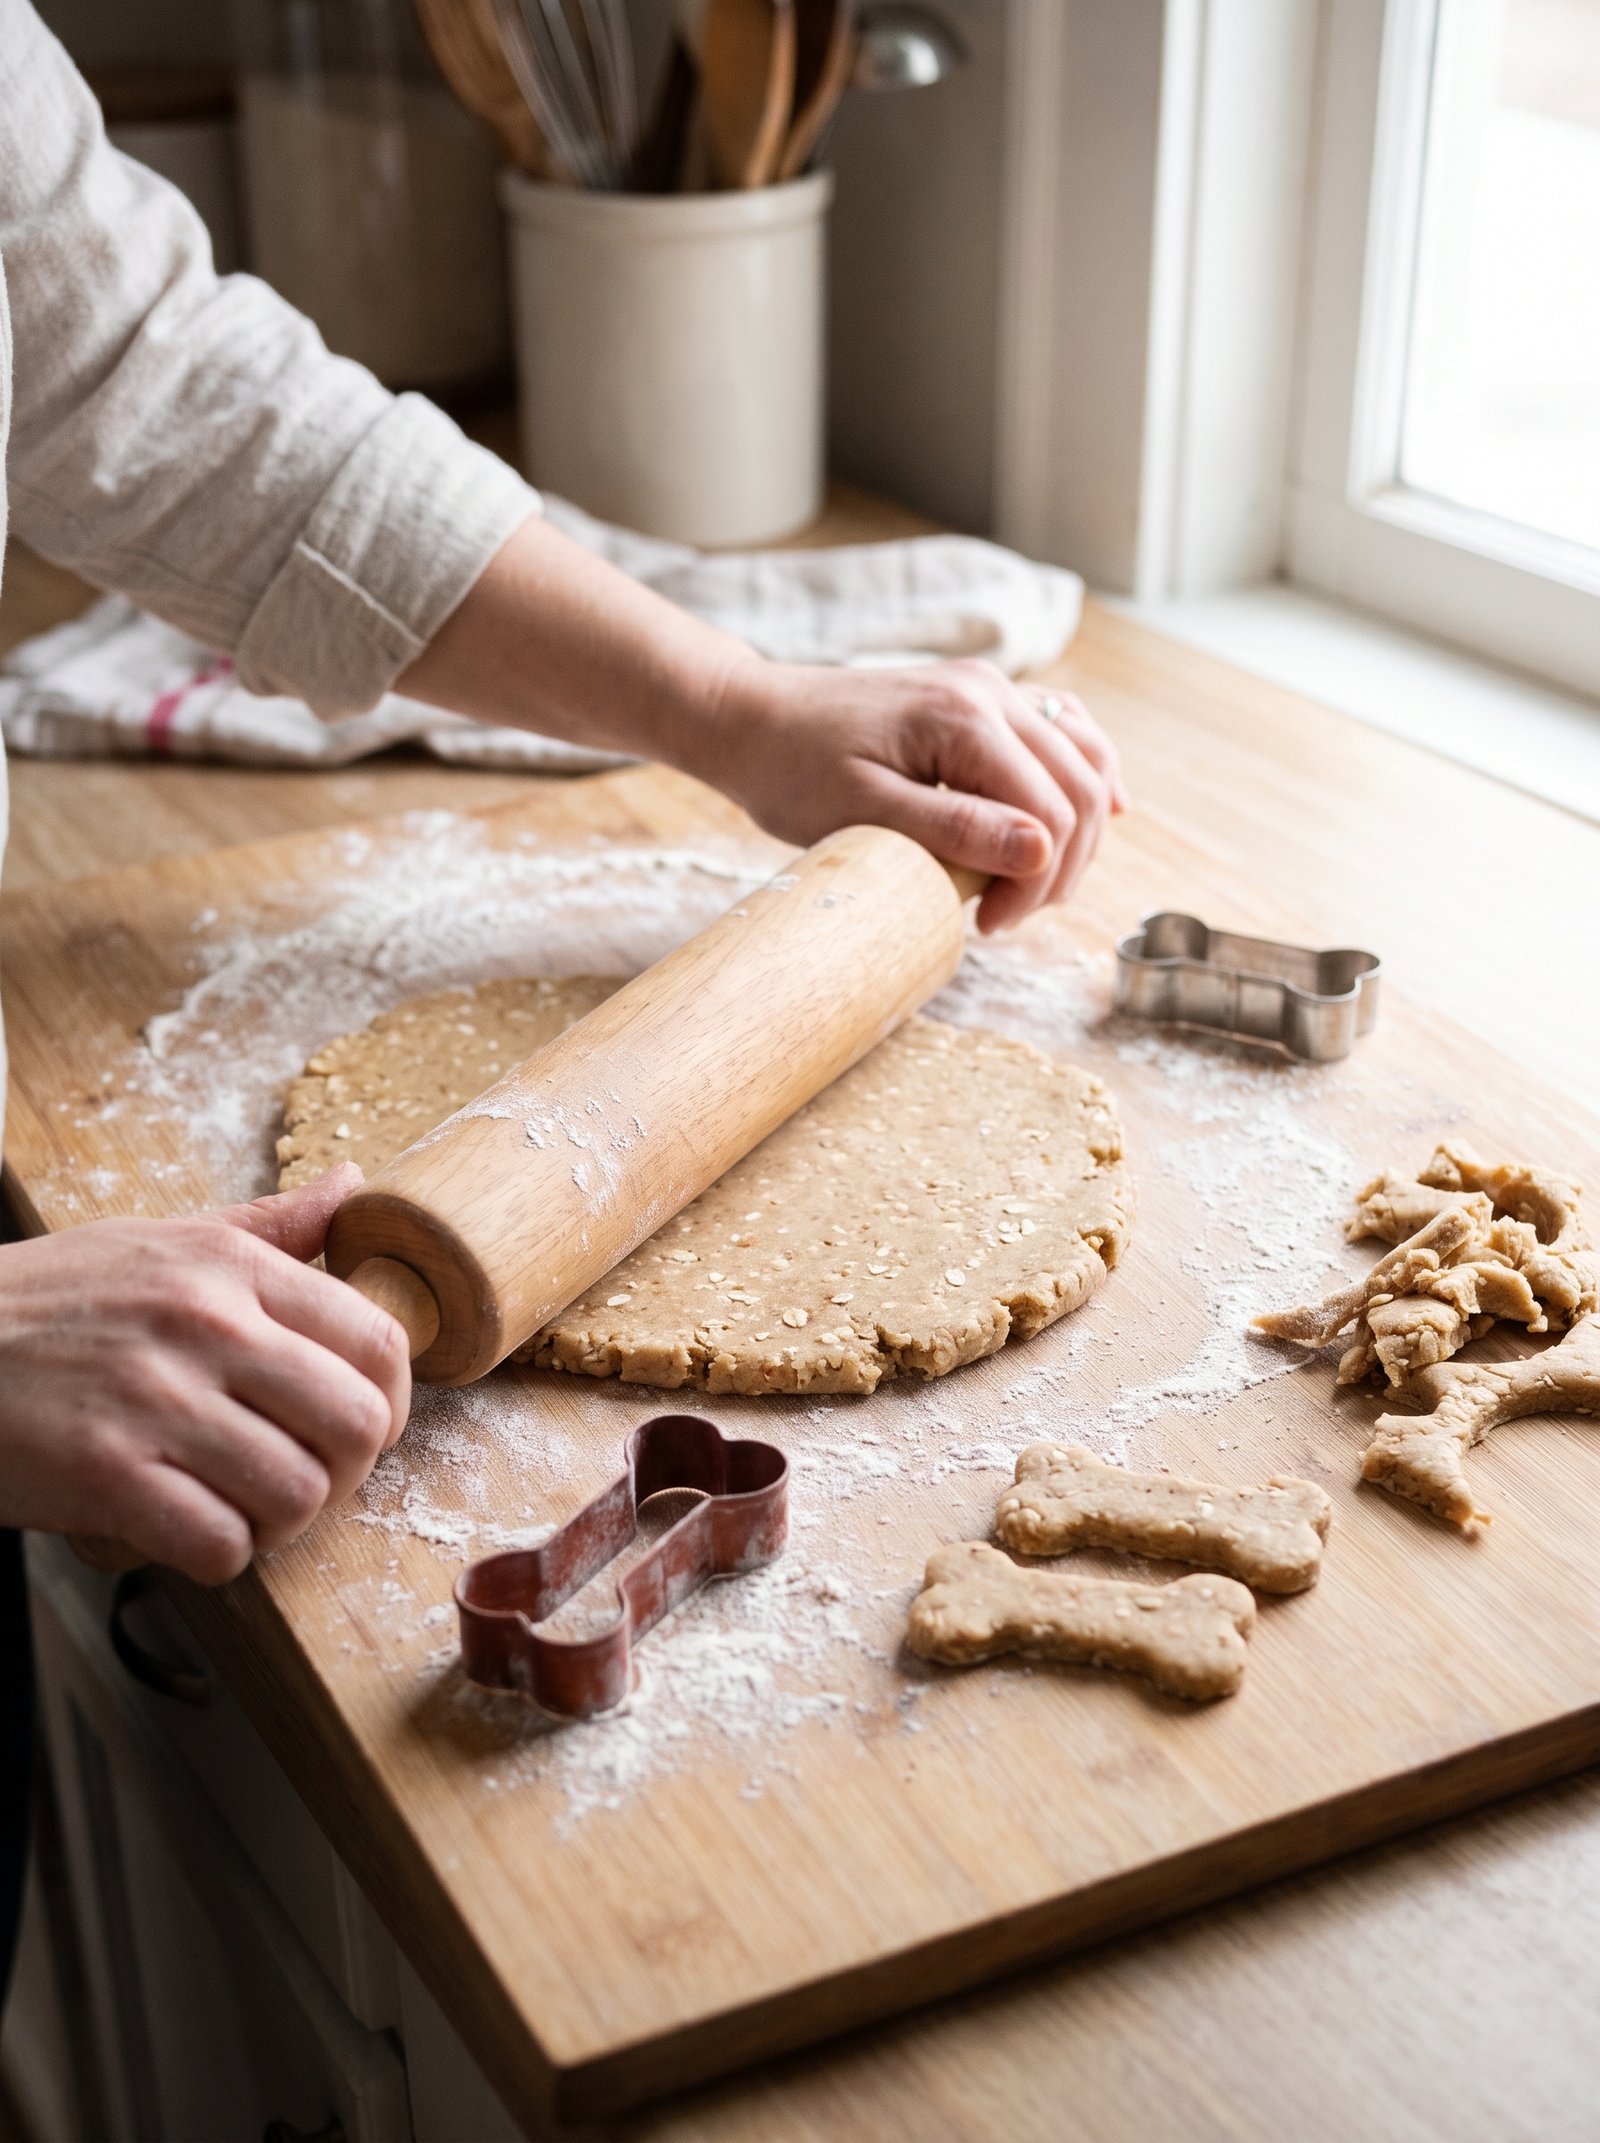
Step 6: Cut Your Shapes
Press your bone cutter straight down and lift — no twisting, which seals the edges and makes treats puff unevenly. Re-roll the scraps and keep cutting until the dough is used up. You should get about 30 small treats, depending on cutter size. Space them close together; they do not spread, so they can nearly touch.
Step 7: Bake Until Firm
Bake for 20–25 minutes, until firm to the touch and lightly golden underneath. Small cutters finish closer to 20 minutes; larger shapes may need the full 25.
Step 8: Cool Completely (Do Not Skip This)
Move the treats to a wire rack and let them cool completely — at least 30 minutes. This matters more than it looks: the treats crisp up as they cool and steam escapes, and sealing warm treats in a container traps moisture and shortens their life. Once cool, break one — it should snap, not bend. If yours still bend, pop them back into a 300°F oven for 5–10 more minutes.
How to Store Your Homemade Dog Treats
Because these healthy homemade dog treats have no preservatives, they do not last like store-bought biscuits. Stored right, they keep beautifully:
- Counter: airtight container, up to 3 days
- Fridge: airtight container, up to 1 week
- Freezer: freezer bag or container, up to 3 months — thaw at room temperature for 15 minutes before serving
Our favorite routine: keep a few days’ worth in the fridge and freeze the rest — one baking session then covers you for weeks. If a treat ever smells off or grows mold, throw it out.
How Many Treats Can My Dog Have?
Treats should stay a small part of your dog’s day — the usual guidance is no more than about 10% of daily calories from treats. One small treat here has roughly 25–35 calories (an estimate — it varies with cutter size and how much flour your batch needed), so a little goes a long way.
| Dog size | Suggested serving |
|---|---|
| Toy / small (under 15 lbs, like most Shih Tzus) | 1 treat, a few times a week — or snap one in half for daily training rewards |
| Medium (15–40 lbs) | 1–2 treats, a few times a week |
| Large (over 40 lbs) | 2–3 treats, a few times a week |
When in doubt, break treats into smaller pieces — your dog counts the number of rewards, not the size, and three tiny pieces feel like a jackpot to a small dog.
Variations and Easy Substitutions
Once you have the base recipe down, it takes almost no effort to change it up:
- Add an egg: One beaten egg in the wet mixture makes a firmer, more biscuit-like dough that holds detailed cutter shapes beautifully. It becomes a 4-ingredient recipe, but it is our go-to for gift batches.
- Pumpkin swap: Replace the banana with ½ cup of plain canned pumpkin (100% pumpkin, never pumpkin pie filling) for a fall version that is extra gentle on sensitive stomachs.
- Peanut allergy: Swap the peanut butter for sunflower seed butter in the same amount — and yes, check that label for xylitol too.
- Apple twist: Swap the banana for ½ cup of unsweetened applesauce and use flour at the higher end of the range, since applesauce is wetter.
- Training-size batch: Use a tiny cutter or roll pea-sized bits of dough into mini balls. Bake 12–15 minutes. Perfect pocket-friendly rewards.
Common Mistakes to Avoid
- Grabbing the wrong peanut butter. The xylitol check is not optional. Sugar-free peanut butter is the one ingredient that can turn a sweet gesture into an emergency vet visit. Read the label every time.
- Adding all the flour at once. Bananas are not standardized. Dumping in 2 cups at once can give you a dry, crumbly dough that will not roll. Add gradually and stop when it feels right.
- Cutting the treats too thick. Thick treats stay soft in the middle, go stale faster, and can mold. A ¼ inch roll with a full bake gives you the snap and the shelf life.
- Skipping the cooling rack. Treats left on the hot pan keep steaming from below and end up soft. Cooling fully on a rack is where the crisp texture happens.
- Over-treating a small dog. One of these treats is a meaningful snack for a 10-pound dog. Follow the serving guide above, especially in the first week while you watch how your dog’s tummy handles a new food.
Frequently Asked Questions
Is peanut butter safe for dogs?
Yes — plain peanut butter is safe for most dogs and one of the most loved flavors in homemade treats. The one exception is peanut butter sweetened with xylitol (also labeled birch sugar), which is highly toxic to dogs. Choose a natural peanut butter with peanuts as the only ingredient, and introduce any new treat in small amounts first.
Can I use regular flour instead of oat flour?
You can. All-purpose flour works cup-for-cup, and whole wheat flour works too if your dog tolerates wheat. We use oat flour because it is gentle on sensitive stomachs, naturally a little sweet, and easy to make at home by blending rolled oats. Never use self-rising flour — its baking powder and salt are not needed and not ideal for dogs.
How long do homemade dog treats last?
Not as long as commercial treats — that is the honest trade-off for having no preservatives. These keep about 3 days in an airtight container on the counter, up to 1 week in the fridge, and up to 3 months in the freezer. The drier and crisper you bake them, the longer they last, which is why the full bake and full cool matter.
Can puppies eat these treats?
Generally yes, once a puppy is weaned and eating solid food (around 8 weeks and up), treats like these are fine in tiny amounts. Break them into pea-sized pieces for small puppy mouths and tiny tummies, and keep them an occasional reward, not a meal. If your puppy has a known food sensitivity or is on a vet-directed diet, check with your vet first.
My dog is allergic to peanut butter. What can I use instead?
Sunflower seed butter is the closest swap — same amount, same method, very similar dough. Just check its label for xylitol and added sugars, the same way you would peanut butter. Plain canned pumpkin with a little extra flour also works for a nut-free version, though the flavor is milder.
Final Thoughts
Three ingredients, one bowl, about 40 minutes — that is all standing between you and a jar of treats you can feel genuinely good about. These easy homemade dog treats are the first recipe we recommend to anyone new to baking for their dog: nearly impossible to mess up, and even the pickiest little taste-testers tend to approve. Make a batch this weekend, freeze half, and watch what happens the next time you open that container — we are betting on a very attentive audience by the kitchen door.
3-Ingredient Peanut Butter Banana Dog Treats
Ingredients
Method
- Preheat oven to 325°F (165°C) and line a baking sheet with parchment paper.
- Mash the banana in a mixing bowl until mostly smooth.
- Stir in the peanut butter until fully combined.
- Add oat flour gradually, ½ cup at a time, until a soft, non-sticky dough forms.
- Roll dough to ¼ inch thick on a floured surface.
- Cut into shapes with a small cookie cutter; place on the prepared sheet.
- Bake 20–25 minutes, until firm and lightly golden.
- Cool completely on a wire rack — treats crisp up as they cool.